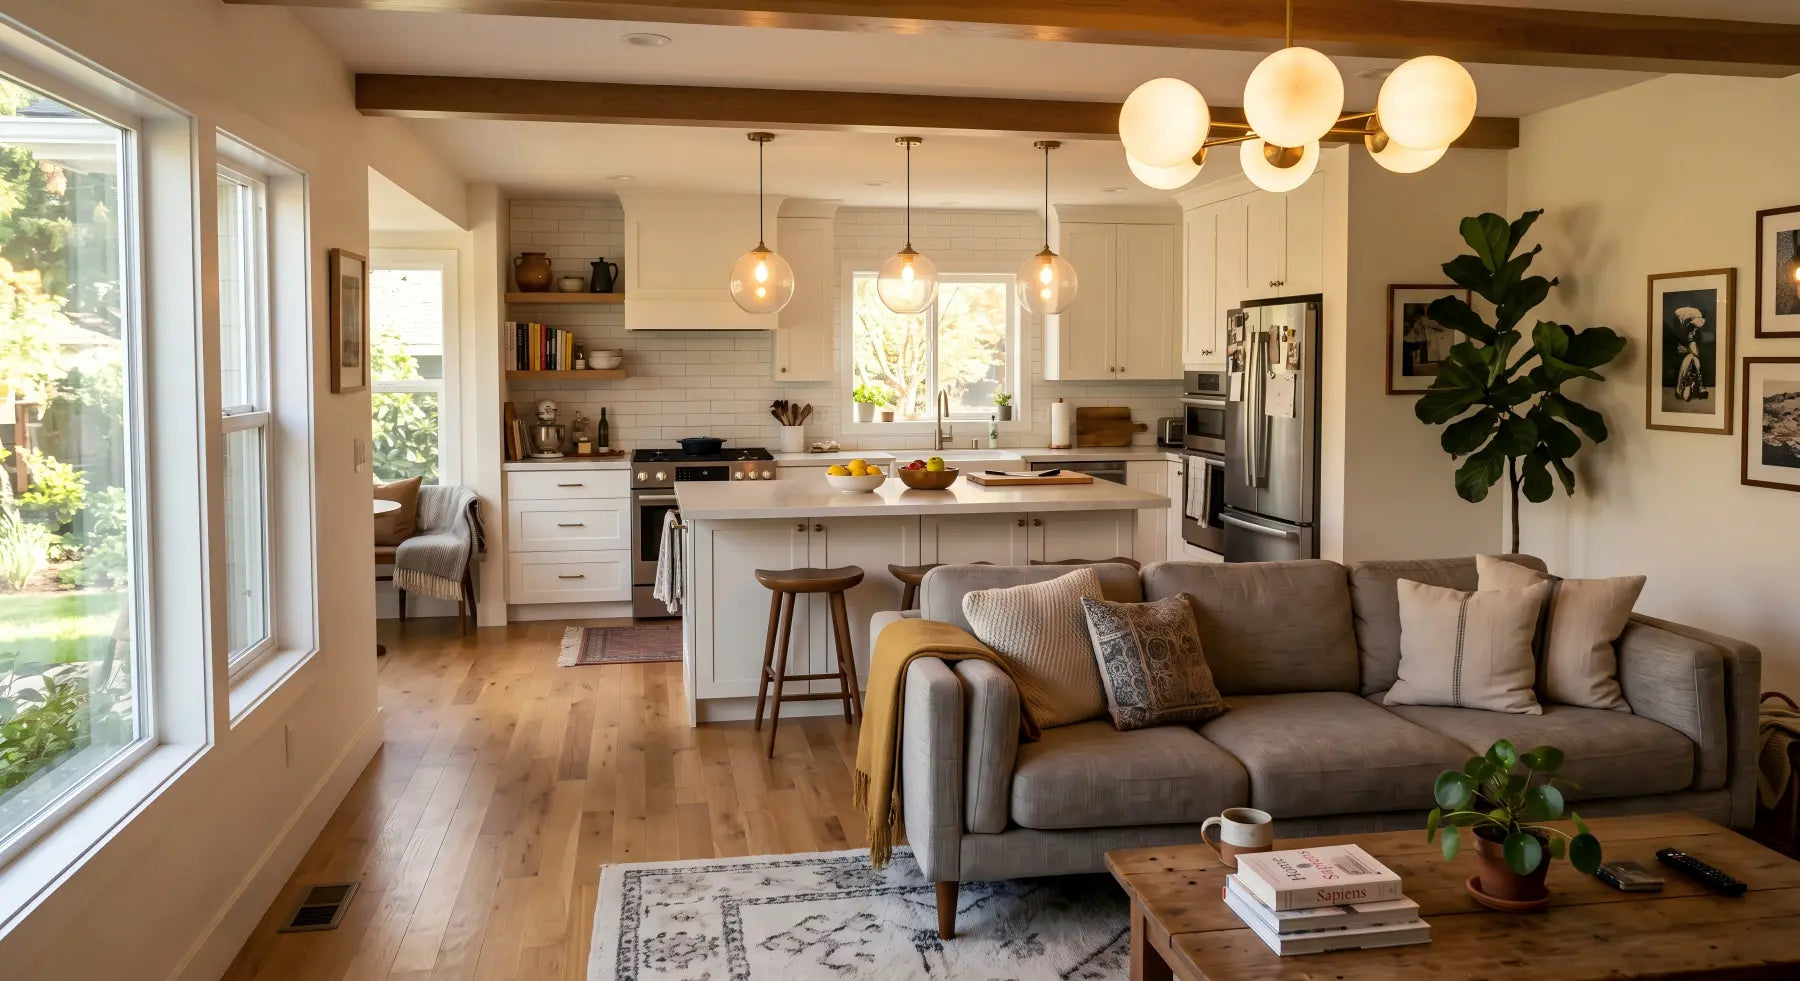
You love your vaulted ceiling. You love the chandelier you picked out. Then you look up and think: how is this supposed to work on an angle?
It's a fair question. A standard flush-mount canopy is designed to sit flat against a level ceiling. Tilt that ceiling 20, 30, or 45 degrees, and the canopy gaps on one side, the fixture tilts, and the whole thing looks like it's about to slide off.
The good news: this is a solved problem. Thousands of chandeliers are installed on sloped ceilings every day in America. The hardware exists, the technique is straightforward, and a qualified electrician can handle it without special training. But there are decisions you need to make before installation — where the junction box goes, what adapter you need, and how to calculate cable length — that make the difference between a clean result and an awkward one. This guide covers all of it.
In This Guide
- How Chandeliers Hang Straight on Angled Ceilings
- Where to Mount the Junction Box
- Cable Length Math for Sloped Ceilings
- Step-by-Step Installation on a Sloped Ceiling
- Cathedral vs Vaulted vs A-Frame: What's Different?
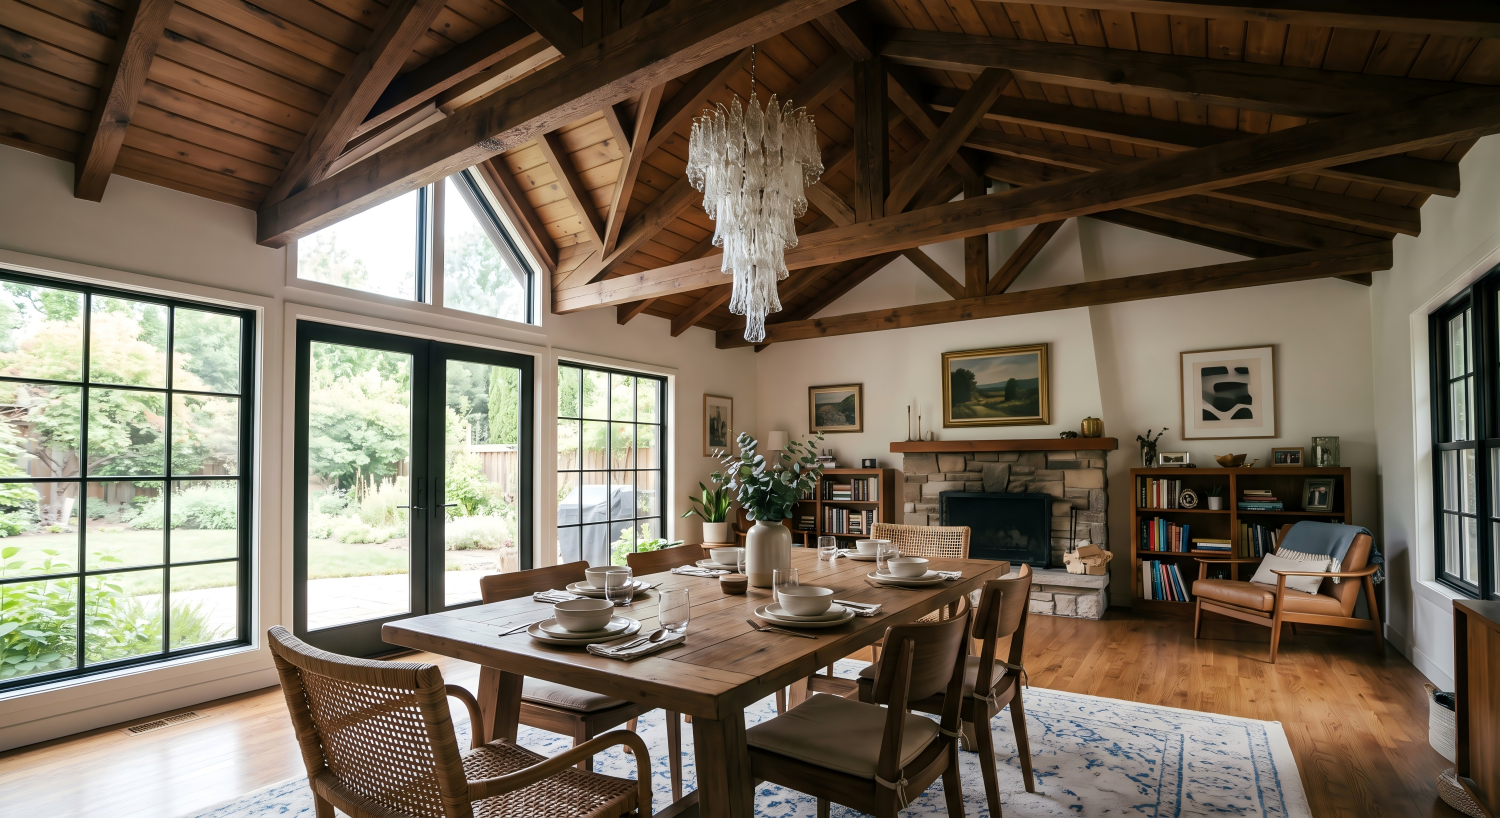
- Exposed Beams: A Special Case
- What to Tell Your Electrician Before They Arrive
- Troubleshooting: Fixture Isn't Hanging Straight
- Frequently Asked Sloped-Ceiling Questions
How Chandeliers Hang Straight on Angled Ceilings
The key component is a swivel canopy (also called a sloped ceiling adapter). Here's how it works:
A standard canopy is a flat plate that bolts flush to the junction box. It assumes the ceiling is level, so the cable drops straight down and the fixture hangs plumb.
A swivel canopy adds a ball joint between the ceiling plate and the cable attachment point. The plate mounts flush against the angled ceiling — following whatever slope the ceiling has. The ball joint inside allows the cable to pivot, so the cable still drops straight down via gravity regardless of the ceiling angle above. The fixture hangs perfectly vertical even though the ceiling above it is tilted.
Think of it like a fishing rod holder on a boat: the holder is angled, but the line always drops straight down into the water. Same principle.
What slope angles are covered?
Most swivel canopy adapters work on slopes up to 45 degrees. That covers the vast majority of vaulted, cathedral, and A-frame ceilings in American residential construction. Standard vaulted ceilings in new construction are typically 20–30 degrees. Cathedral ceilings (the steeper ones that follow the roofline) usually max out at about 40 degrees.
If your ceiling exceeds 45 degrees — rare but possible in dramatic A-frame cabins or loft conversions — you may need a specialized mounting bracket that extends the pivot point further from the ceiling surface. An electrician experienced with high-slope installations can advise.
Does my chandelier include one?
Not all chandeliers ship with sloped ceiling hardware — many brands treat it as an add-on accessory at $15–$40 extra. Check the product listing before you buy. Many Aurorae Lighting chandeliers include a sloped ceiling adapter, and for any fixture that doesn't, we can provide the correct adapter on request. If you have a sloped ceiling, email us your fixture and approximate ceiling angle before you order — we'll confirm exactly what you need so nothing is missing on installation day.
Where to Mount the Junction Box
This is the most important decision in a sloped ceiling installation, and it needs to happen before the electrician arrives — ideally during the planning stage, not on installation day.
The rule: position based on the floor, not the ceiling
On a flat ceiling, the junction box goes at the center of the room (or directly above the dining table). On a sloped ceiling, you need to think in two planes simultaneously: the floor plane and the ceiling plane.
Step 1: Stand at floor level. Find the point directly above where you want the chandelier to hang — the center of the dining table, the center of the foyer, or wherever the fixture needs to be positioned. Mark that point on the floor with tape.
Step 2: From that floor point, go straight up to wherever the ceiling is. On a sloped ceiling, this point is not at the peak — it's on the angled surface, at whatever height the slope happens to be at that horizontal position.
Step 3: That ceiling point is where the junction box should be installed. The fixture hangs plumb from that point, landing directly above the table or the center of the room at floor level.
The peak temptation
The ceiling peak is the highest point and the most visually prominent. It's tempting to mount the junction box there for maximum drama. This works perfectly only if the peak is directly above the center of the table or room.
In many homes, it isn't. The table might be offset, or the room's furniture layout doesn't center under the ridge line. If the peak is 3 feet to the left of where the fixture should hang, mounting at the peak means the chandelier hangs 3 feet off-center — which looks wrong from every angle.
Center over the furniture, not at the peak. If those two points coincide, great. If they don't, the furniture wins.
What if the junction box is already in the wrong place?
- Relocate the box ($300–$500). An electrician moves the junction box to the correct position, patches and paints the old hole. This is the cleanest solution and the one we recommend.
- Swag hook method ($15–$30 DIY). Install a decorative ceiling hook at the correct position. Route the chandelier's cable from the junction box to the hook, then straight down. This creates a visible cable arc along the ceiling between the box and the hook. It works, but the arcing cable is visible and reads as a compromise.
- Accept the offset. If the box is only 6–12 inches off center, the visual offset may be acceptable — especially with a round fixture that doesn't have an obvious directional axis. Beyond 12 inches, most people find it noticeably off.
Cable Length Math for Sloped Ceilings
Sloped ceilings require more cable than flat ceilings for the same hanging height, because the cable has to travel a longer distance from a higher point on the slope down to the desired fixture position.
How to calculate
You need two measurements:
- Ceiling height at the junction box point. Stand directly below where the box will be and measure straight up to the ceiling. (Not the peak height — the height of the ceiling at the box location.)
- Desired height of fixture bottom above the floor. For dining rooms: tabletop height (30") plus 30–34" = about 60–64" above the floor. For foyers: 84–96" above the floor.
Cable needed = Ceiling height at box − Desired fixture bottom height − Fixture body height
Example: Cathedral ceiling at 14 feet at the mounting point. Dining table below. Fixture bottom should be 62 inches above the floor (32 inches above a 30-inch table). Fixture body is 20 inches tall.
- 168" (14 ft ceiling) − 62" (fixture bottom) − 20" (fixture body) = 86 inches of cable needed
That's over 7 feet of cable — beyond what many chandeliers include. Standard fixtures ship with 48–72 inches. Aurorae fixtures are built with long adjustable cables for exactly this reason (many models reach well beyond 12 feet of drop), but cable length still varies by model and configuration, so confirm the maximum on the product page before purchasing.
Always add 12 inches of slack
Add at least 12 inches to your calculated cable length. This gives you adjustment room — you might want to fine-tune the height after installation, and it's much easier to shorten cable (coil excess inside the canopy) than to add cable you don't have. Better to have extra cable coiled inside the canopy than to discover you're 6 inches short on installation day.
Step-by-Step Installation on a Sloped Ceiling
This is what the electrician will do. Understanding the process helps you communicate your preferences clearly and spot potential issues.
Step 1: Mount the junction box
If a box is already in place at the correct location, the electrician confirms it's rated for the fixture weight. If no box exists, or the existing box is in the wrong position, the electrician installs a new fan-rated box between the ceiling joists at the correct location. On sloped ceilings, the box must be mounted flush with the angled surface — not shimmed to level. The swivel canopy handles the angle correction; the box just needs to be secure and flush.
Step 2: Attach the mounting bracket
A standard crossbar bracket bolts to the junction box. This is the same bracket used on flat ceilings — nothing changes here.
Step 3: Install the swivel canopy
The canopy plate attaches to the crossbar bracket. The swivel mechanism inside allows the canopy's outer face to sit flush against the angled ceiling surface while the internal cable attachment point pivots to vertical. Some swivel canopies are integral to the canopy (built in); others are a separate adapter ring that sits between the bracket and the canopy.
Step 4: Connect the wiring
Standard wire connections — black to black (hot), white to white (neutral), green or bare to ground. No difference from a flat ceiling installation.
Step 5: Thread and adjust the cable
The cable feeds through the canopy's center hole and out the bottom. The electrician adjusts the cable length to achieve the desired hanging height, coils any excess inside the canopy, and secures the cable with the built-in clamp or set screw.
Step 6: Level check
With the fixture hanging, the electrician uses a small torpedo level against the fixture body to confirm it's hanging perfectly plumb. If it tilts slightly, the swivel ball joint may need to be loosened and re-seated. Once plumb, the canopy is tightened to the ceiling and the job is done.
Total installation time
For an experienced electrician with the junction box already in the correct position: 30–60 minutes. About the same as a flat ceiling installation, plus 5–10 minutes for the swivel adapter adjustment. If the junction box needs to be relocated, add 1–2 hours for the electrical and patching work.
Cathedral vs Vaulted vs A-Frame: What's Different?
These terms get used interchangeably, but they describe different ceiling shapes with different installation considerations:
| Ceiling Type | Shape | Typical Slope | Installation Note |
|---|---|---|---|
| Vaulted | Two slopes meeting at a ridge, with a flat section at the ridge or a horizontal beam | 15–25° | If the ridge has a flat section, you can mount the box on the flat part — no swivel adapter needed |
| Cathedral | Two slopes meeting at a sharp peak, following the roofline with no flat section | 25–40° | Mounting at the peak is possible but requires a ridge-mount bracket. Mounting on the slope requires a swivel canopy |
| A-Frame | Very steep slopes, often exposed beams, ceiling may be the underside of the roof structure | 35–55° | Steep angles may exceed standard 45° swivel range. Consider mounting on a beam or using an extended pivot bracket |
| Tray / Coffered | Recessed center section, often flat at the center with angled perimeter walls | 10–20° on the perimeter, flat at center | Mount on the flat center section — no adapter needed. The tray shape frames the chandelier beautifully |
| Shed / Single-slope | One continuous slope from high wall to low wall, no peak | 10–30° | Mount at the point directly above the table/center — will be partway up the slope, not at the highest point. Swivel canopy required |
Exposed Beams: A Special Case
Many vaulted and cathedral ceilings feature exposed structural or decorative beams. These beams offer an alternative mounting strategy that can actually simplify installation.
Mounting to the beam instead of the ceiling plane
If a beam runs directly over your table or room center, the electrician can install the junction box on the bottom face of the beam (which is usually flat and horizontal, even though the ceiling behind it is sloped). This eliminates the need for a swivel adapter entirely — the flat beam face acts just like a flat ceiling. The fixture hangs straight from a standard canopy.
The visual effect is also quite attractive: the cable drops from a wooden beam rather than from the ceiling surface, creating an organic connection between the structural architecture and the light fixture.
When beam mounting doesn't work
- The beam isn't positioned over the desired hanging point. (Don't compromise the fixture position to match the beam — center over the furniture.)
- The beam is decorative/hollow and can't support the fixture weight. (Confirm with your electrician — if the beam is solid or has adequate backing, it's fine.)
- The beam is too narrow to mount a canopy. (Most canopies need a 4–5 inch flat surface. If the beam is only 3 inches wide, the canopy overhangs and looks awkward.)
What to Tell Your Electrician Before They Arrive
A 5-minute conversation before installation day prevents most problems. Share these details:
- Ceiling height at the mounting point (measured from the floor straight up — not the peak height).
- Ceiling slope angle (approximate is fine — "about 25 degrees" or "it's a standard vaulted, not steep").
- Whether the junction box exists and its current location. If it needs to move, the electrician can plan for the extra time and materials.
- The fixture's weight. So they can confirm the box is rated appropriately and add a brace if needed.
- Whether the fixture includes a sloped ceiling adapter. So they know whether to bring their own.
- Whether you want a dimmer switch installed. Much easier (and cheaper) to do this at the same time as the fixture installation.
Troubleshooting: Fixture Isn't Hanging Straight
If the chandelier is already installed on a sloped ceiling and isn't hanging plumb, here are the most common causes:
The swivel joint isn't fully seated
The ball joint inside the canopy may not be fully engaged in its socket. Turn off the breaker, lower the canopy, and check that the ball is seated completely. Gently wiggle it into position, then re-tighten the canopy. This is the most common cause.
Cable tension is uneven
For multi-cable fixtures (cluster pendants with 3, 5, or more cables), one cable being slightly tighter than the others will tilt the fixture toward that side. Open the canopy and adjust all cables to equal length. A small torpedo level held against the fixture body confirms when it's true.
The canopy is over-tightened
If the canopy is screwed too tightly against the ceiling, it can push the ball joint off-center and introduce a slight tilt. Loosen the canopy slightly — just enough that the ball joint can settle to its natural plumb position — then re-tighten by hand. Don't over-torque.
For more troubleshooting scenarios, see our full 7 Common Chandelier Problems & How to Fix Them.
Frequently Asked Sloped-Ceiling Questions
Can any chandelier be installed on a sloped ceiling?
Any chandelier with a cable or chain suspension can be adapted for sloped ceilings using a swivel canopy. Flush-mount and semi-flush fixtures (those that attach directly to the ceiling surface with no hanging cable) generally cannot be adapted, because their form depends on being flush against a level surface.
Does the slope affect how the light spreads?
No. The fixture hangs plumb regardless of the ceiling angle, so the light pattern is identical to a flat-ceiling installation. The shades point the same direction, and the light falls the same way. The only visual difference is that the canopy and upper cable are tilted relative to the fixture — which is subtle and generally unnoticeable once the fixture is viewed from below.
What about ceiling fans on sloped ceilings — is it the same adapter?
Similar concept but different hardware. Ceiling fans are heavier, vibrate during operation, and need a more robust mounting system. A chandelier swivel canopy is not interchangeable with a ceiling fan slope adapter. If you're installing both in the same room (a fan and a chandelier), each needs its own appropriate hardware.
My ceiling is flat but has a slight bow — do I need a swivel?
If the "slope" is less than about 5 degrees (a slight construction bow or settling), most standard canopies can accommodate it by slightly loosening the mounting screws. A true swivel adapter is only needed for intentional architectural slopes — vaulted, cathedral, shed, or A-frame ceilings.